A Step-by-Step Guide: How to Properly Document Your Dog Bite Case
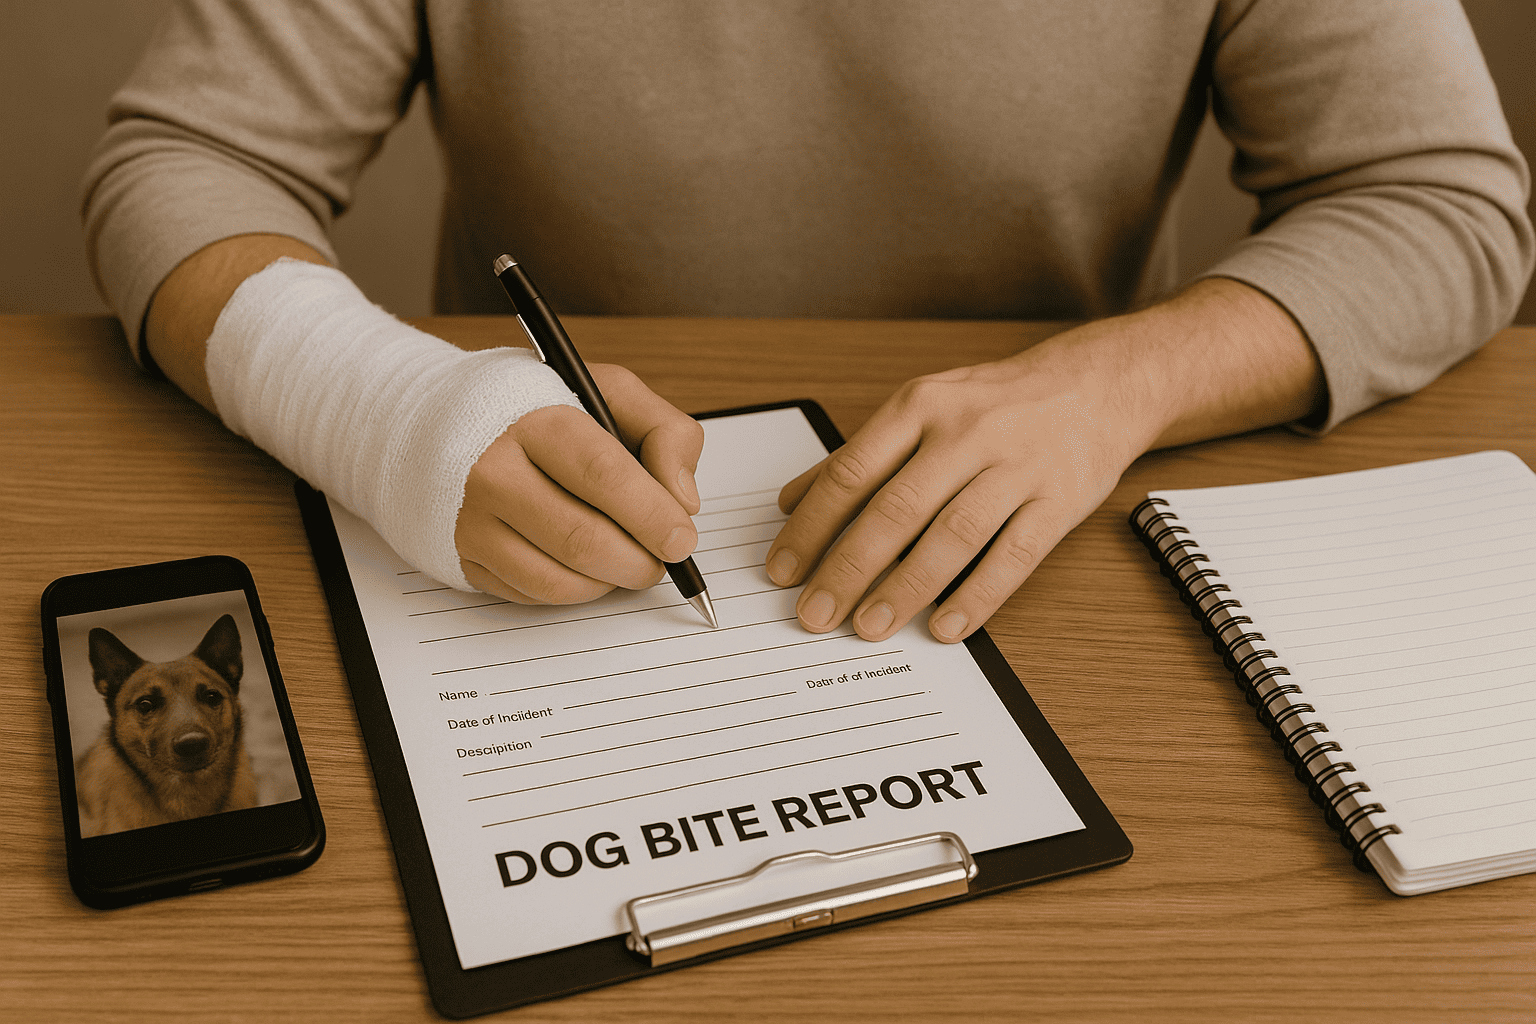
After a dog bite, once you have ensured your immediate safety and sought medical care, the single most powerful thing you can do for yourself is to document everything.
Strong documentation is the foundation of a successful insurance claim. It replaces hazy memories with hard facts and provides the proof needed to establish what happened and the extent of your injuries. It can feel overwhelming, but breaking it down into a simple checklist makes it manageable.
This guide will walk you through exactly what you need to document.
1. Photographic Evidence: A Picture is Worth a Thousand Words
Your phone’s camera is your most powerful tool in the days and weeks following the incident. Be thorough. You can never have too many photos.
- Your Injuries (Most Important):
- Take clear, well-lit photos of your injuries immediately after the incident.
- Continue to take photos every few days to document the healing process. This is crucial for showing the full extent of the recovery period. Capture any bruising, swelling, stitches, and eventually, any scarring.
- The Location of the Attack:
- Take wide shots of the area where the incident occurred.
- Look for details. Was there a broken fence? A gate left open? A “Beware of Dog” sign (or a lack of one)? Capture these details.
- Your Damaged Property:
- Take photos of any torn clothing, broken glasses, or any other personal property that was damaged during the attack.
- The Dog (Only If Safe):
- If you can do so from a completely safe distance without putting yourself at any risk, a photo of the dog can be useful. Do not approach the animal to do this.
2. The Official Report: Your Unbiased Foundation
As mentioned in our “First Steps” guide, an official report is critical.
- Get a Copy: After you’ve reported the incident to the police or animal control, make sure you get a copy of the official report.
- Review It: Read the report carefully to ensure all the facts are correct—the date, time, location, and your account of what happened. If there are significant errors, you can contact the officer to request a correction.
3. Create a Written Record: Your Personal Journal
Memories fade, but written notes do not. Start a dedicated notebook or a digital document to keep track of everything related to the incident.
- Write Down the Events: As soon as you can, write down a detailed, chronological account of the attack. Include everything you remember: what you were doing right before, how the dog behaved, what the owner did (or didn’t do), and what was said immediately after.
- Keep a Pain and Recovery Journal: On a regular basis, write down how you are feeling. How is the pain? Are you having trouble sleeping? Are you feeling anxious or fearful around dogs? This journal is powerful evidence for “pain and suffering” claims.
- Log All Communications: Keep a record of every phone call with the dog owner, witnesses, and especially the insurance company. Note the date, time, the person you spoke with, and a summary of the conversation.
4. The “Money” Folder: Track Every Expense
Create a physical or digital folder and put a copy of every single bill, receipt, and financial document related to your injury inside it.
- Medical Bills: This includes hospital bills, doctor’s co-pays, prescription receipts, and receipts for any medical supplies like bandages or ointments.
- Lost Wages: Get a letter from your employer confirming the days you missed from work and your rate of pay. Keep your pay stubs that show the lost income.
- Other Costs: Did you have to pay for transportation to your doctor’s appointments? Did you need to hire someone to help with childcare while you recovered? Keep records of these expenses as well.
A Final Thought:
Taking the time to be a good record-keeper is one of the most proactive steps you can take. It empowers you with the evidence you need to tell your story accurately and ensures that you are in the best possible position to receive a fair settlement for everything you have been through.


